Rebuilding a capacitor (5)
|
|
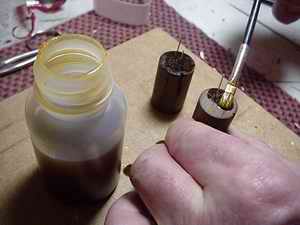
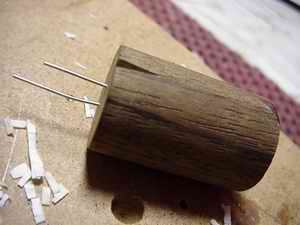
Use the file to make an indencation at the side of the negative lead of the elco. |
 |
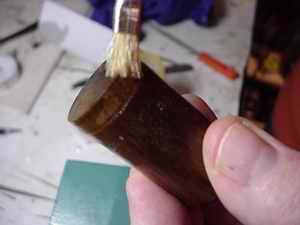
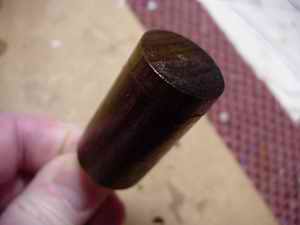
Lacquer time! The holes, where the leads come out, are sealed of with lacquer, just to be sure. Don't lacquer the leads themselves! Use much lacquer on this side, it really sucks up the lacquer. Use a lacquer that is made from natural ingrediënts and is on an alcoholic base. This provides in quick drying and excellent preserving qualities! |
 |
The side of the housing may be lacquered as well, it will be dry in no time... |
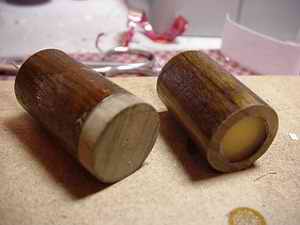 |
Now the lid of the housing has to be mounted. Scrape away any redundant beeswax with a knife and make sure that the lid provides in a good fit. |
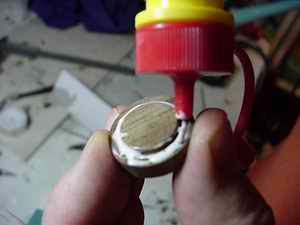 |
The lid is glued on with quick drying, white woodglue. Be sure to smear the glue all around the lid. Put the lid on, press fermly and immediately remove any redundant glue. |
 |
Now the lid can be lacquered as well.... |
 |
If the lacquer is dry, the housing can be sanded and treated with furniture wax. This is for a nice finish but it also helps preserving the capacitor... |
|
|
Et voilŕ: Two modified capacitors which in return for the job well done, will sound much better than the originals!! |
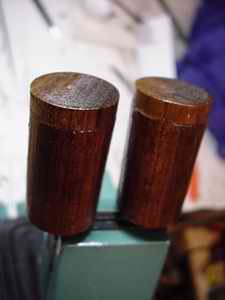
This modification takes only 2 hours of your time if stuck to the materials mentioned above (the making of the wooden housings excluded). It is fun doing this, sure different than most modifications to amplifiers! If you do not trust your skills, Cees Piet is willing to make you a pair as described above. This will cost you 50Euros, the capacitors excluded. Contact for more information Cees.
_______________